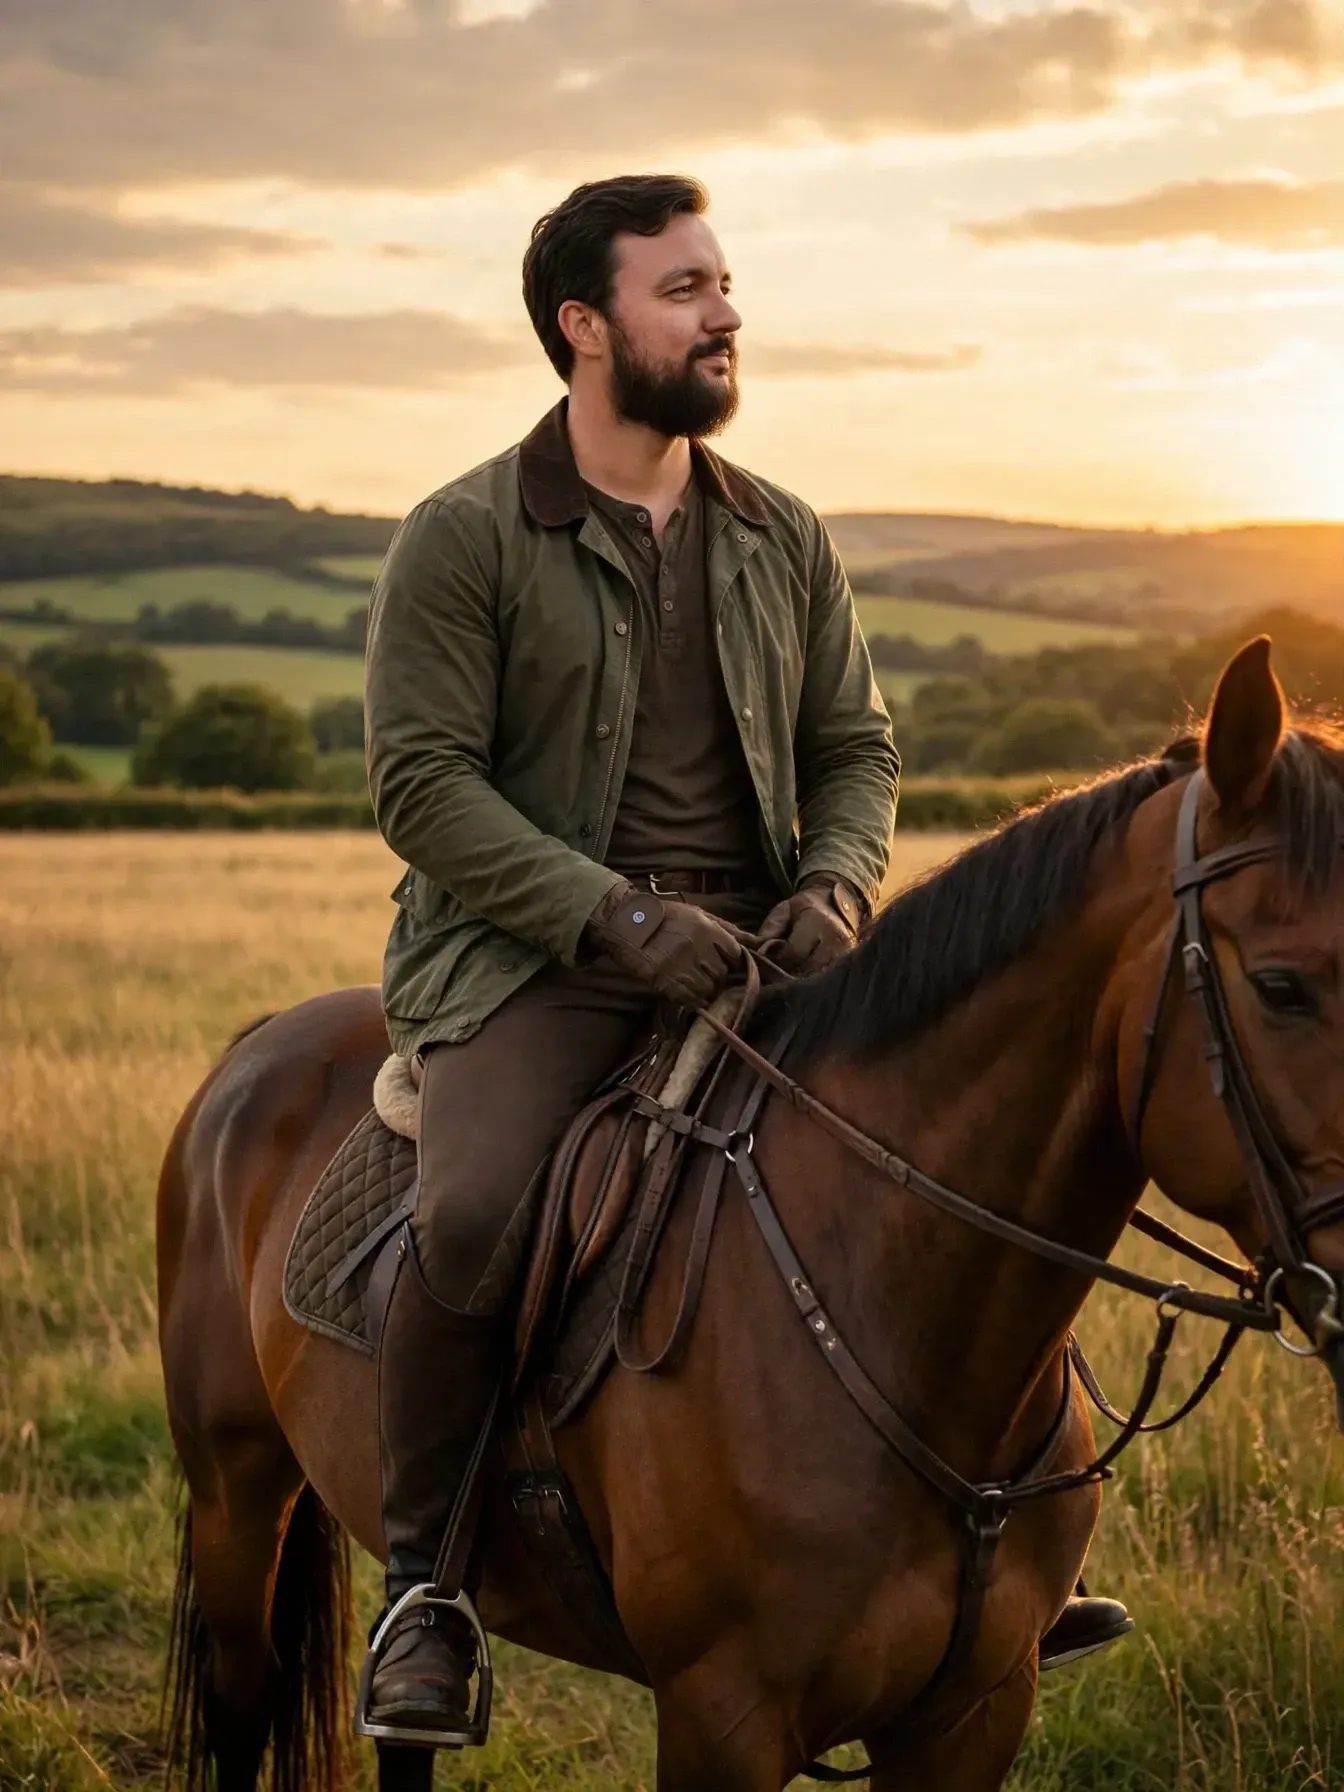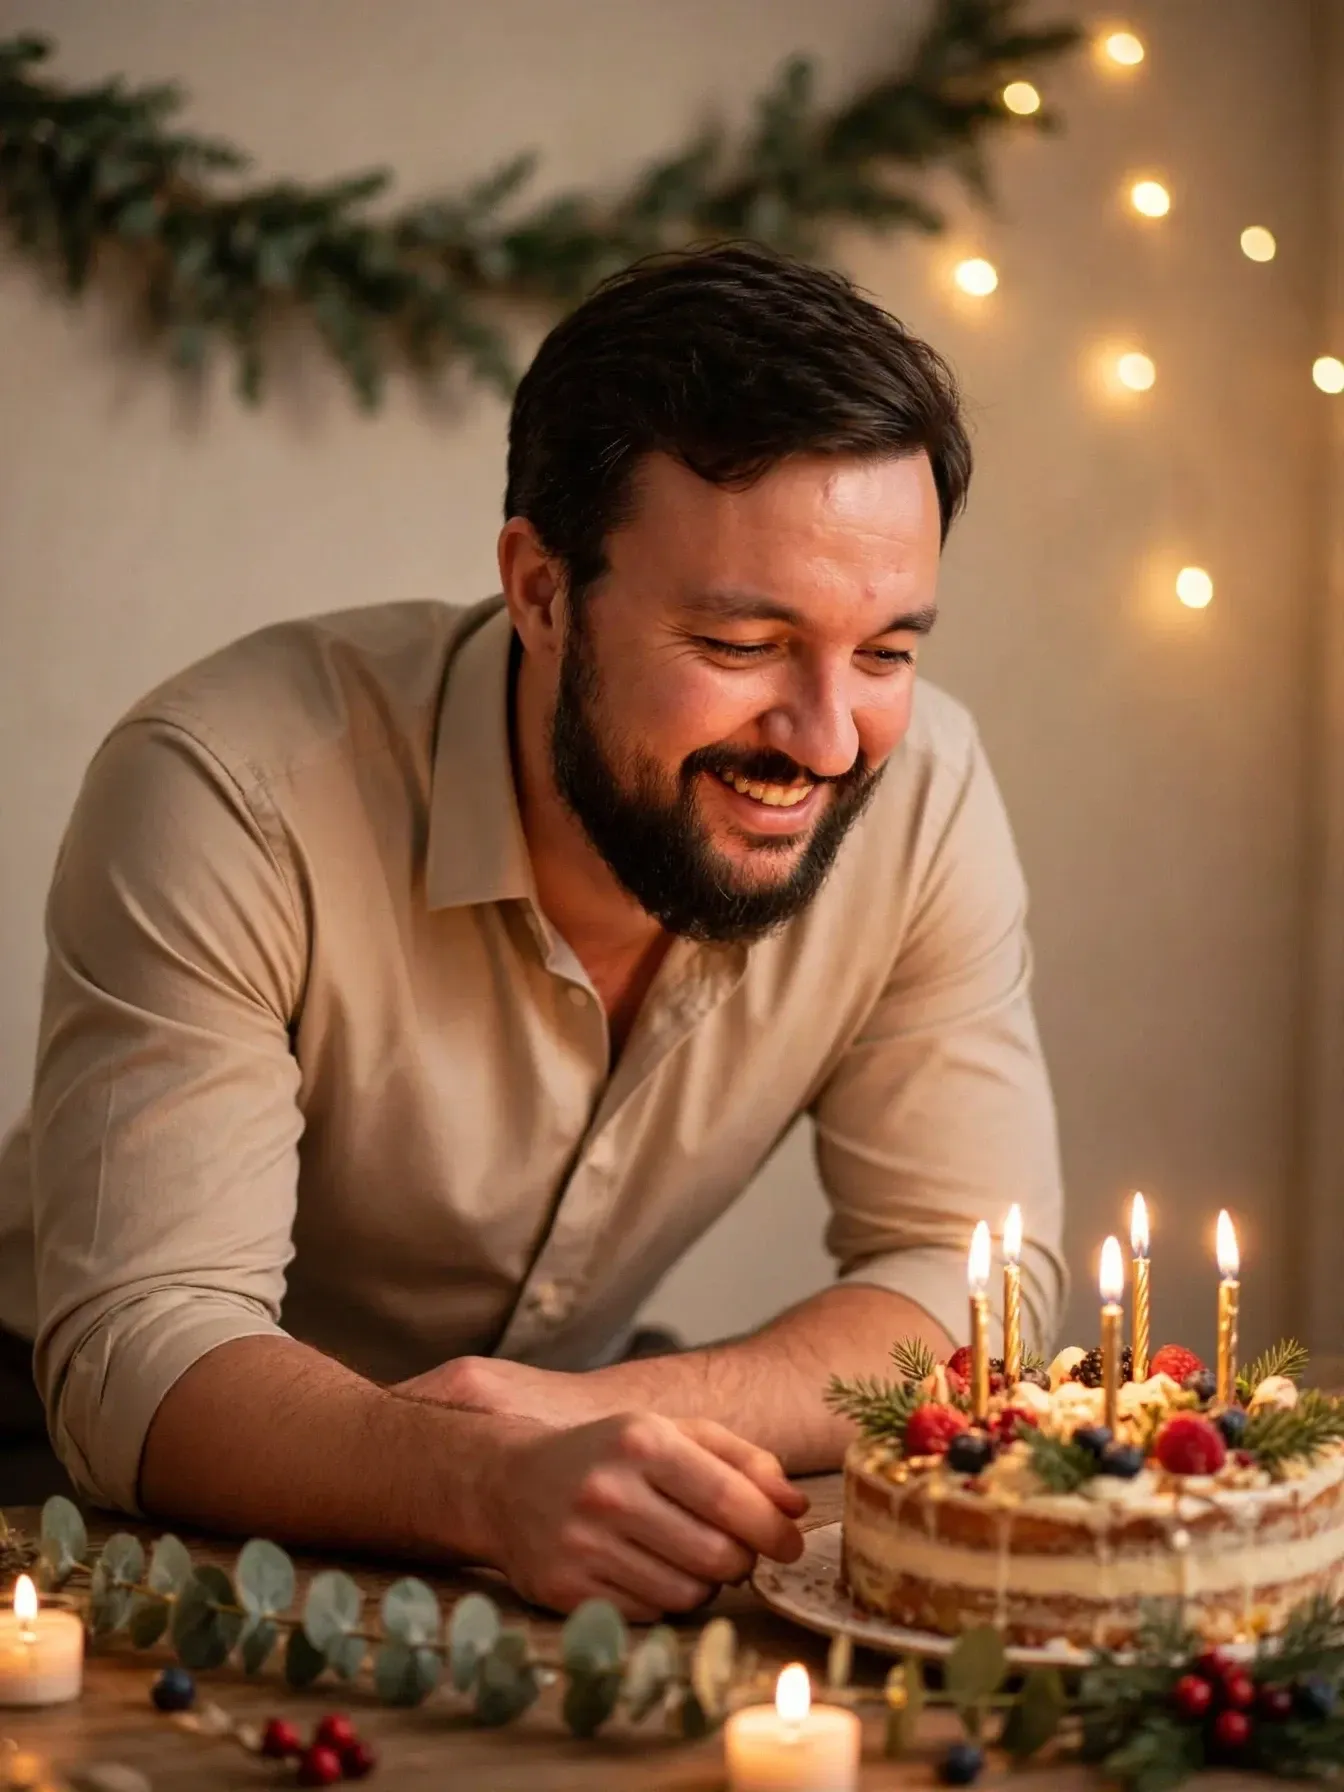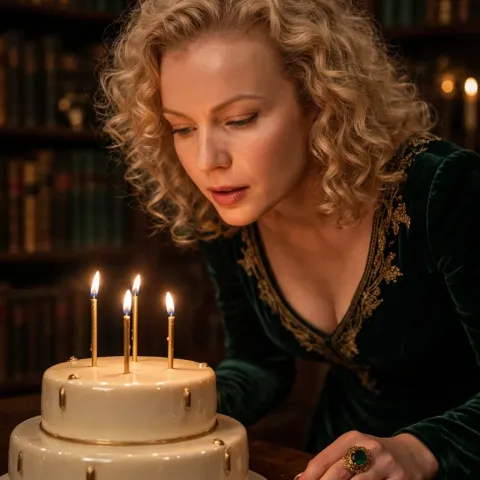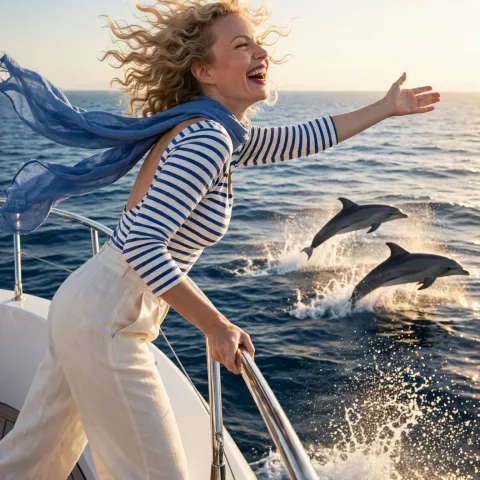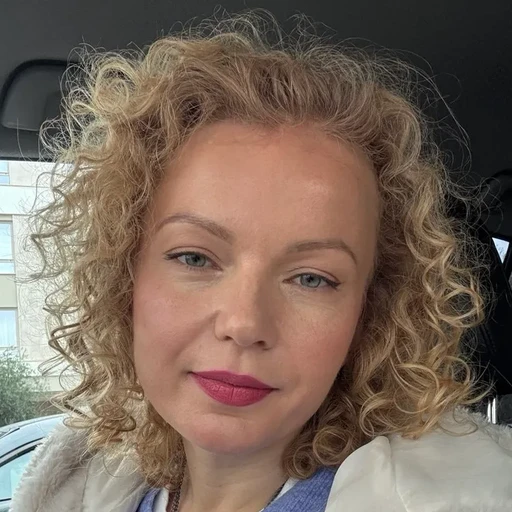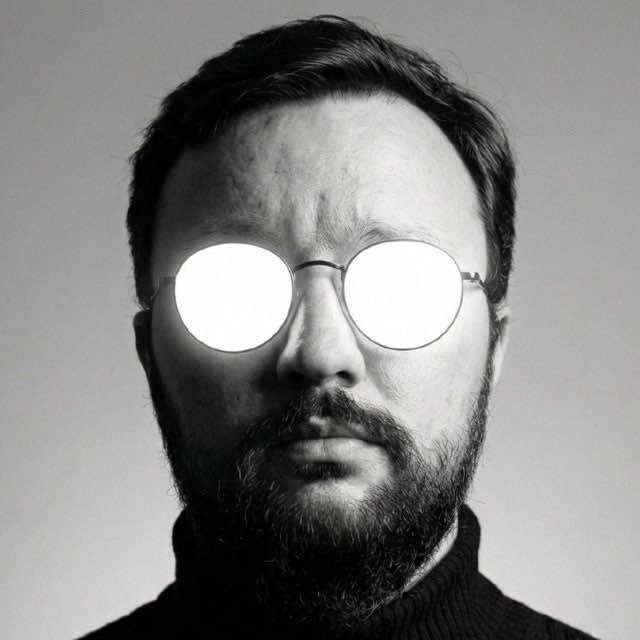
The face in the shot is a 1-to-1 match with your selfie; check it with a free try-on. To get a natural shot, it's important to choose the right reference or scene: the service reads the lighting and pose from the selected example. There's no need to write a text prompt. Choose a proven scene or send a shot you like from Pinterest, Yandex Images, or Google Images. Let's break down the criteria for a good sample and common mistakes before the try-on.
What a Reference and Scene Are in a Selfie Photo Shoot
In a regular photo studio, a reference only sets the general mood of the shoot. When creating a shot from a selfie, it works as a precise visual matrix. The algorithm reads the direction of light, density of shadows, camera angle, and hand position from the chosen image. The face is transferred from your selfie profile while preserving your facial expression and gaze.
This mechanism works equally reliably for images from the web and for ready-made scenes in the service. For example, a pirate-style photo shoot relies on well-crafted scenes: a captain's bridge or a tavern scene. The lighting and color palette there are pre-configured, so the photo comes out cinematic on the first try.
The difference between the concepts is simple. A scene is a ready-made, cohesive setting with a thoughtful outfit and pre-set lighting. A reference is any image from the internet or your phone gallery whose atmosphere you want to bring into your own photo. You show the system a visual sample, and it recreates a similar shot with you in it.
Criteria for a Good Reference: Lighting, Pose, and Face Visibility
The facial similarity and overall quality of the shot depend on the chosen example. If the sample is overloaded with details or shot against the light, it's harder to transfer facial features without distortion. Let's break down the key requirements for a reference based on three main parameters.
Scene lighting:
- Good: soft daylight from a window or a diffused studio softbox, where cheekbones and jawline are clearly visible.
- Bad: harsh direct flash that erases facial contours, or shooting against the sun, turning the figure into a dark silhouette.
Body position and angle:
- Good: a calm gaze into the lens or a natural three-quarter turn at eye level, with hands not covering the face.
- Bad: unnatural neck bends with a twisted torso, head tilted far back, or palms at the chin.
Shot size and background:
- Good: a waist-up portrait or chest-up shot with soft background blur that separates the figure from the surroundings.
- Bad: a distant wide shot with a small figure against a busy background, or a high-angle shot with a wide-angle lens.
Also check the sharpness of the source: motion blur and heavy file compression prevent the algorithm from recognizing fabric texture and small details. The cleaner the silhouette outline in the example, the more accurate the final shot will be.
A Ready-Made Scene from the Catalog or Your Own Example: Which Is Better
Before starting the try-on, you face a choice: take a ready-made scene from the service's showcase or upload your own sample. Both paths solve different tasks.
Ready-made scenes save time. The lighting, setting, and depth of field are pre-configured here. One click is enough to try on a historical costume or a studio portrait. You won't have to search for source images on third-party sites.
Your own example gives you complete freedom. Found an striking shot on an autumn rooftop or a scene from a movie — upload it as a reference. The service will read the body position, the character of the lighting, and neatly fit your face into the chosen environment.
For fine-tuning, the profile offers two practical slots:
- Wardrobe: add a photo of your real clothes, and the service will dress you in exactly those items.
- Manicure: a photo of your nails in the profile will preserve your polish shade and shape in shots where your hands are visible.
If you're trying a selfie shoot for the first time, start with a ready-made scene. You'll immediately see how the face fits. You can move on to custom references a bit later.
Common Mistakes When Choosing a Reference and How to Avoid Them
The quality of the shot is determined at the input stage. Most failed attempts are due to typical mistakes when selecting an example.
A group photo for a solo portrait. When there are two or three people in the frame, the system divides attention between the figures, and the face loses clarity. For a solo shoot, choose an example with strictly one person. If you want a shot of two people, switch to pair mode: the service will combine two profiles without mixing features.
Heavy editing harms similarity more than low resolution. Grainy film and color filters distort skin tone, and the algorithm perceives this noise as facial defects. Choose shots with clean daylight color and natural white balance.
Wide-brimmed hats, deep hoods, and dark sunglasses cover key features. For acquaintances to recognize you in the photo, the face contour and gaze must be visible without obstruction. Regular optical glasses with clear lenses don't interfere.
A mismatch in facial expression makes the shot look strained. If the person in the example is laughing heartily, while your profile has a calm, neutral selfie, the smile in the result risks looking artificial. Choose a reference that matches the mood typical of your photos.
A conflict of lighting schemes is another trap. The hardest to combine is the twilight of an evening street in the reference with a selfie taken under a yellow home lamp. Upload photos taken in diffused daylight to your profile: any atmosphere fits more accurately onto that base.
Step-by-Step Algorithm: From Choosing a Shot to a Free Try-On
To get a predictable result, just follow three steps:
- Build your profile from selfies. A couple of sharp photos in daylight, without dark glasses or headwear, is enough. A front-facing shot plus a slight head turn give the algorithm a complete map of your appearance. Optionally, add photos of clothing or manicure to the special profile slots.
- Choose a scene or attach your own example. Make sure the pose looks relaxed and the face remains open and evenly lit.
- Evaluate the result with a free try-on. The first shot is tried on for free, without linking a card and without registration. You'll see with your own eyes how your features are preserved. After creating a profile, three more bonus shots are credited.
Photo packages start at 25 ₽ per shot, and in larger sets the cost per individual photo decreases. A paid shot is non-refundable, so it's wiser to check facial similarity before payment with the free test.